Bal-tec™ Home Flaw Evaluation with Small Spherical Probes
Flaw Evaluation with Small Spherical Probes — Ball Scribe — Crack-Test Block — Scratch Probe
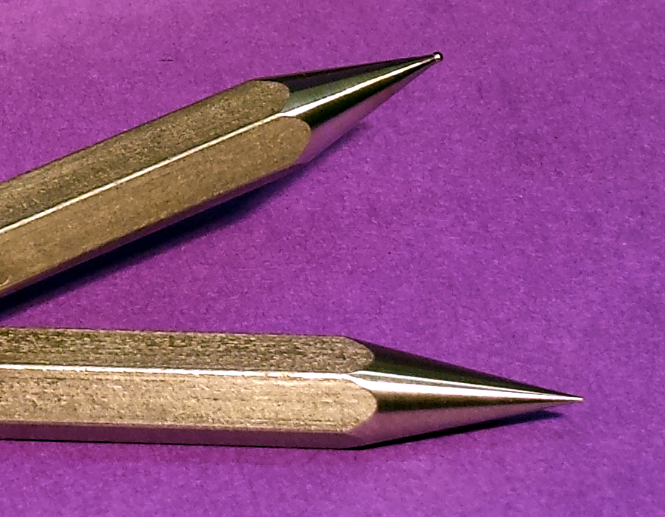
By applying the end of a given spherical tipped probe, also known as a ball-scribe, across a flaw in a machined or ground surface, the proportions of individual imperfections can be evaluated.
The evaluation is conducted by mechanically scanning across the flaw with a hand-held probe. If the spherical tip drops into the flaw by any appreciable amount, a very evident click will be felt. If the radius of a given spherical tip does not penetrate the flaw but instead spans it, there will be no noticeable click and the part is considered acceptable.
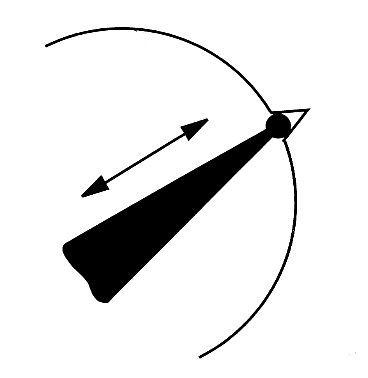
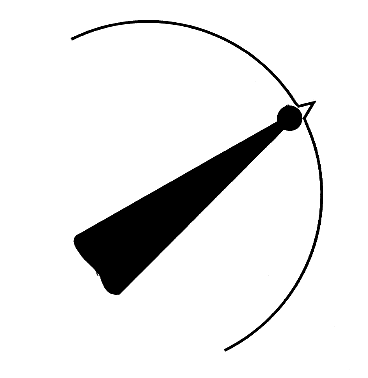
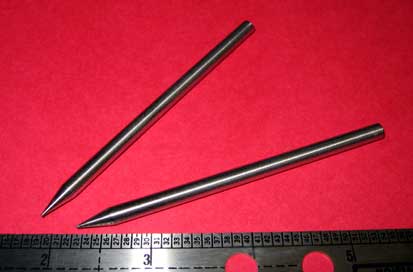
The conventional spherical probe diameters are .010" (0.254 mm), .020" (0.508 mm), .040" (1.016 mm), and .0625" (1.5875 mm), but somewhat smaller and much larger spheres are also being used for some industry applications.
It is of great significance that it is the spherical radius of the test probe that is used as the sensor element, so that the initial contact surface is only one half the spherical diameter. Then only a small cord of the spherical radius senses the void that constitutes the flaw, so the overall sensitivity of this system is many times greater than might be expected.
The useful life of these test probes is greatly enhanced by building them with tungsten carbide sphere-tips. This cermet is very hard, with a wear resistance that is 30 times greater than hardened-steel.
Because of their small diameter, it is important that the balls be tenaciously attached to the probe handle so they will not be picked off. This attachment is best accomplished by brazing the ball on the probe tip. Although this task on such small balls would normally be considered impossible, we have mastered the technology to accomplish it. The probe itself is made of highly corrosion-resistant metal that is polished for clean room compatibility.
These items are made for stock in limited quantities.
| Description | Cost |
|---|---|
| .010" to .0299" (0.254 mm to 0.759 mm) | $275 each |
| .030" (0.762 mm) and above | $175 each |
Crack Evaluation — Ball-Test Probe for Surface Evaluation — Crack-Test Block
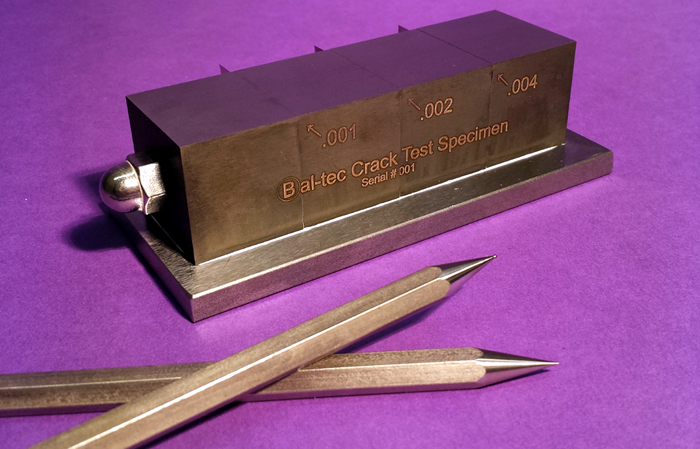
Field evaluation of flaws, scratches, or cracks is most often carried out by passing the spherical tip of a well-known diameter ball over the surface of the part to be tested. The stroke of the spherical probe is made at right angles to the anomaly of interest, with the ball-probe held perpendicular to (or normal to) the test-surface.
We have perfected the production of a precision Crack-Test Block, pictured above, to train personnel on what a specific gap-size feels like with a given ball-probe. The top surfaces of the block are all perfectly co-planar, verified optically using Newton-rings, and there are no burs on the test-block's corners, either on the top or the sides of the cracks, so as to replicate the condition of a true crack. Only a block with these features can function as a true test-specimen for crack-inspection. Precision-shim stock then allows us to precisely control the crack-width, available standard in a .001" .002" .004" crack layout, or with custom crack-widths for an additional charge.
Making and validating a precision test-block of this kind is surprisingly difficult because of the need to achieve perfectly burr-free edges and ensure the crack edges line up perfectly. Flaw-evaluation probes are available in diameters from ten thousandths of an inch diameter (.010”), up to five-sixteenths of an inch diameter (.3125”).
Probes should follow a 10% rule, meaning that the largest probe that a crack can be detected by is 10 times the crack width. So the largest probe a .001" crack can be detected by is a 0.010" ball-tip. A .002" crack will be detected by, at largest, a 0.020" ball-probe. And a .004" crack will allows at most a .040" ball probe.
The spherical tips of all Ball Probes are made of tungsten carbide. Tungsten Carbide is one of the hardest, most wear-resistant materials known to man. It has a Rockwell “A” hardness of 91. The Ball Probe is usually of the pencil design. The pencils are typically held in the writing position, so the sensitive tips of the operators fingers easily sense the “click” of the flaw as the tip of the pencil is traced over the area of interest.
In order to make the “Ball Probe” test more definitive, Flaw Calibration Standards are available that have perfect, calibrated and certified flaws that are traceable to NIST. These devices have a metal separation tab protruding from one side, just like our crack test block. This tab can be measured periodically to recalibrate the standard. The body of these calibration standards are made up of blocks of stainless steel, that is through-hardened to 58 HRC minimum. These very hard blocks of stainless steel are precision ground and lapped flat, so the gap between the blocks depict a perfect flaw for the most reliable evaluation.
Our crack test probe is available for an investment of $487.
Training
A “Ball Probe” and a “Crack-Test Block" make excellent training tools to educate unqualified personnel in the flaw testing procedure. A ball probe and at least two different crack-sizes in the “Flaw-Test Block" are used to teach a new inspector the proper use of the “Ball Probe” as a flaw evaluation device.
Personnel testing
A “Ball Probe” and at least two “Crack-Test Block" calibration blocks that have a piece of tape covering the crack identification-marking makes for an excellent final test in flaw evaluation, to qualify inspection personnel.
