Bal-tec™ Home Measuring Sphericity
Measuring Sphericity
Technical Data Sheet #15

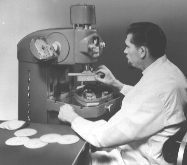
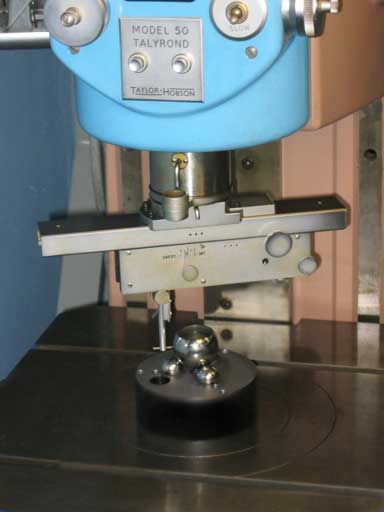
This Talyrond inspection center can measure the sphericity of a ball to less than one millionth of an inch. When required, the quality can be documented in the form of a polar chart recording. Its calibration is traceable to (NIST), National Institute of Standards and Technology.
The modern approach to roundness measurement is based on the comparison of a near perfect axis of rotation with the unknown quality of the test part. This method for evaluating the roundness (sphericity) of precision balls was adopted by the A.F.B.M.A. in the 1975 revision of Standard Book #10, ANSI-B 3.12 1975.

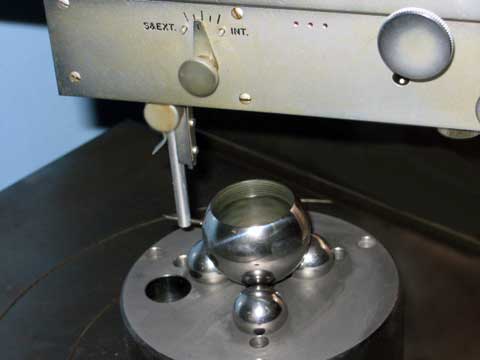
At Bal-tec, we use the Talyrond system to evaluate the roundness of our precision balls. With this system, the ball is fixed to an adjustable X-Y table. This table is adjusted to position the axis of the ball coincident with the near perfect axis of the rotating electronic pickup. Imperfections in the spherical form are recorded on a polar chart in millionths of an inch. The data supplied by the Talyrond is traceable to (NIST), National Institute of Standards and Technology.
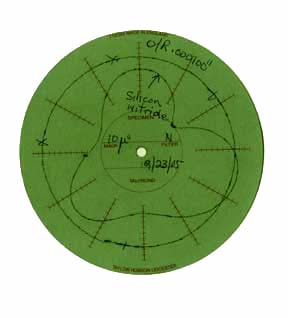
This is a (bad) example of the polar chart produced on the Talyrond. The inner polylobular trace was made from a competitor's silicon nitride ball that was rated by them as a grade 10. The outer trace was made from a very good quality ball.


